Chuẩn bị dụng cụ đầy đủ, tua-vit các loại, bông, PR7, kẹp nhíp.
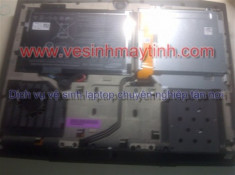
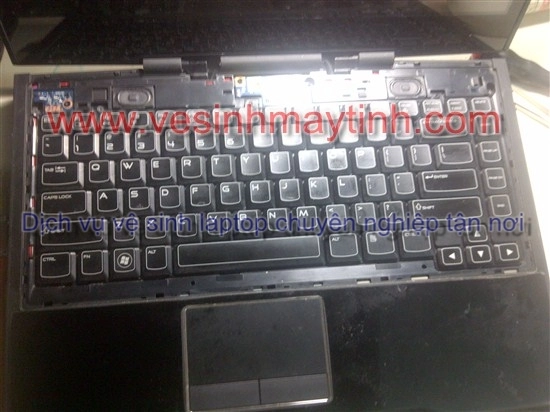
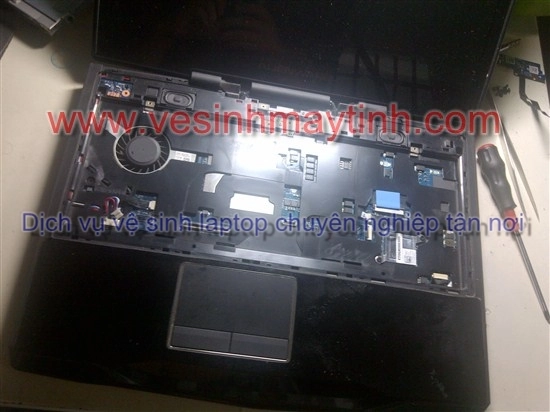
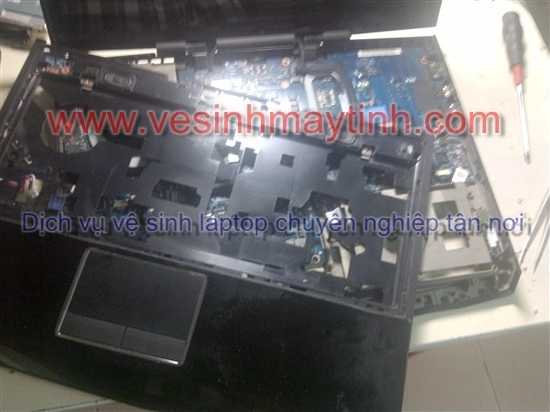
Tháo hết ốc ở dưới máy, nạy tấm vỏ dưới máy lên ta được như thế này.
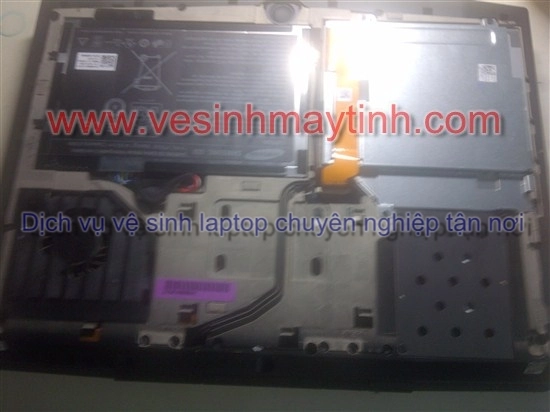
Dùng vít mở hết ốc, gỡ các cáp, tháo Pin và Ổ cứng ra
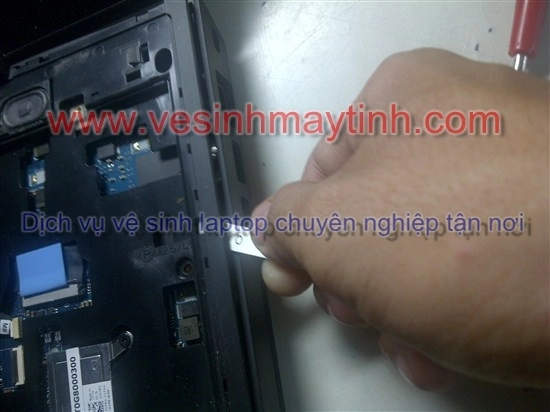
Dùng nhíp nhọn nãy vào miếng nhựa lề bao quanh bàn phím
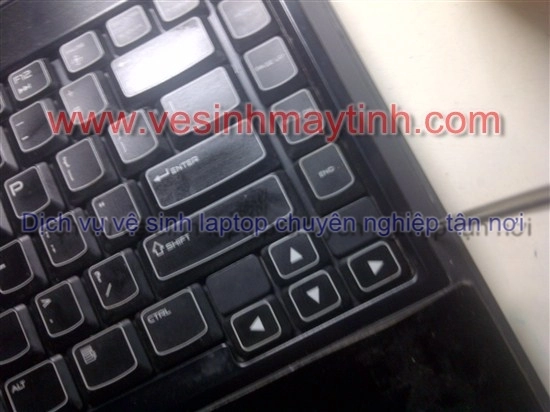
Gỡ nó lên nhẹ nhàng

Dùng vít mở ốc bàn phím
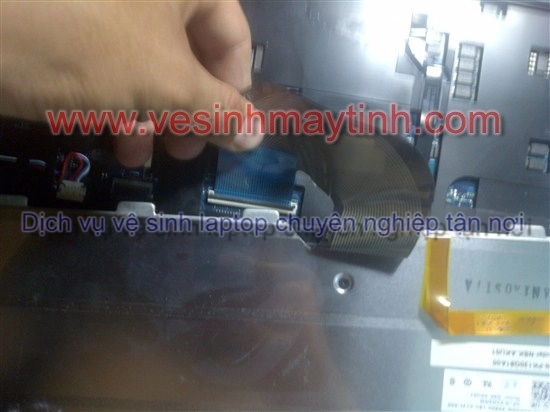
Nâng bàn phím lên, gỡ nhẹ cáp nối ( chú ý bàn phím có 2 cáp, cáp phím và cáp đèn, lúc gắn vào rất hay quên)
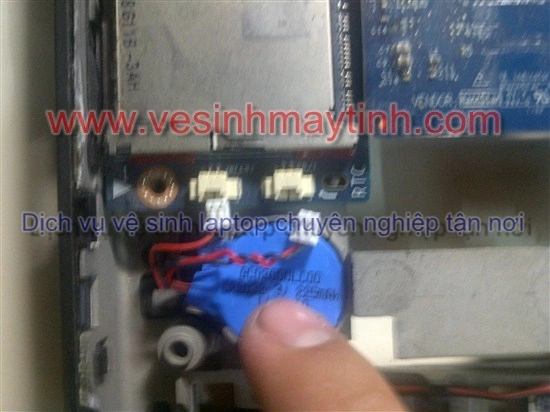
Gỡ công tắc nguồn
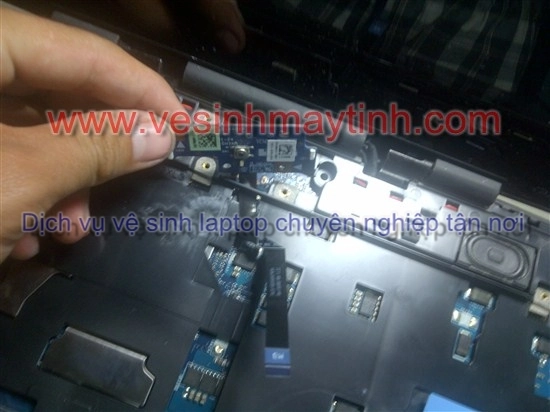
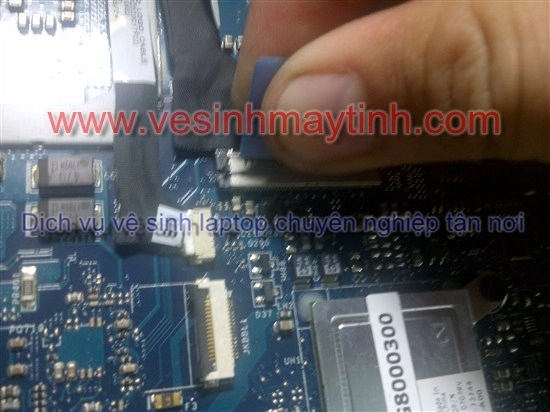
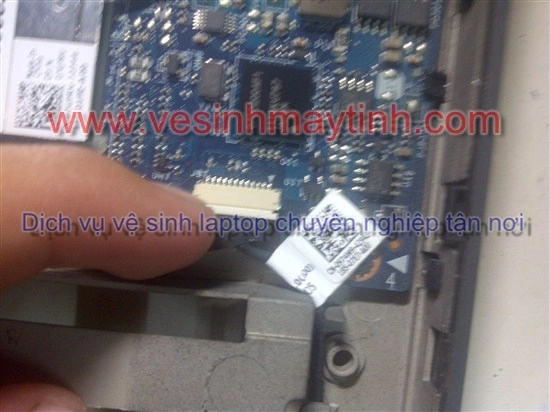
Gỡ các dây cáp
Dùng nhíp nạy phần vỏ lên, nhẹ nhàng tránh gãy ngàm
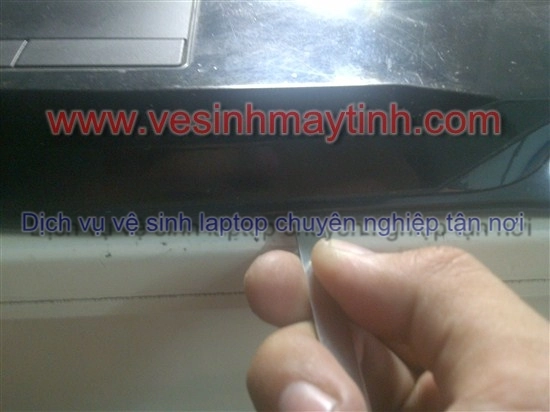
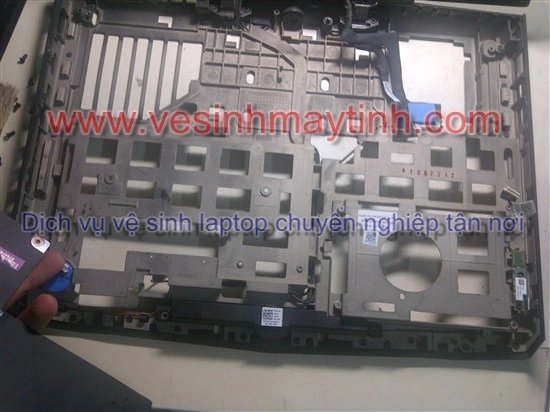
Lấy nắp trên ra

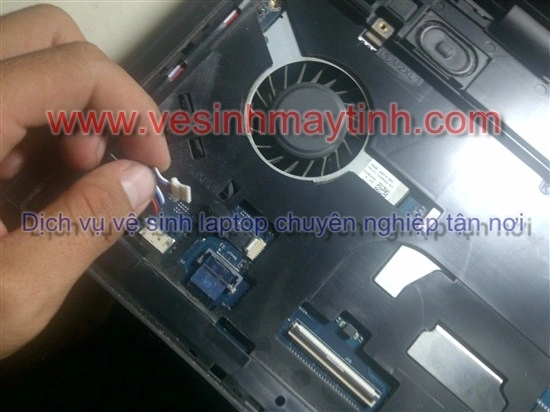
Gỡ các cáp nối với main

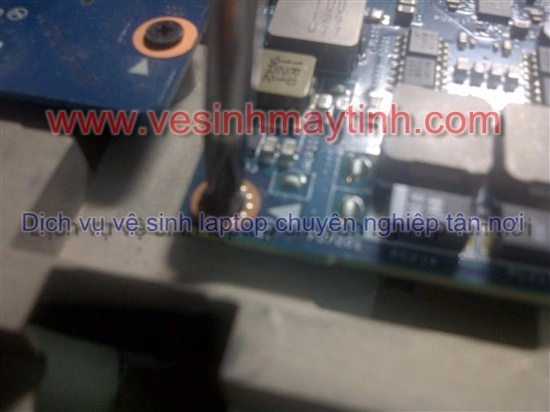
Dùng vít mở ốc có hình tam giác bên cạnh
 '
'
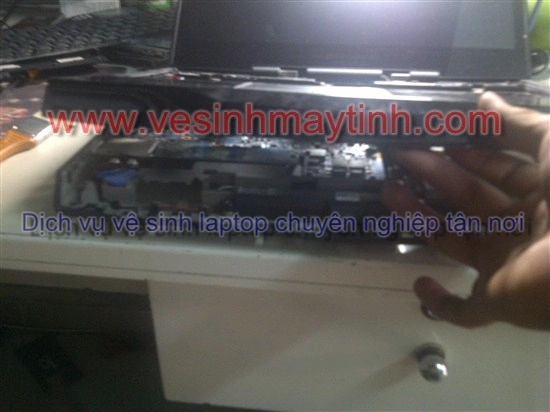
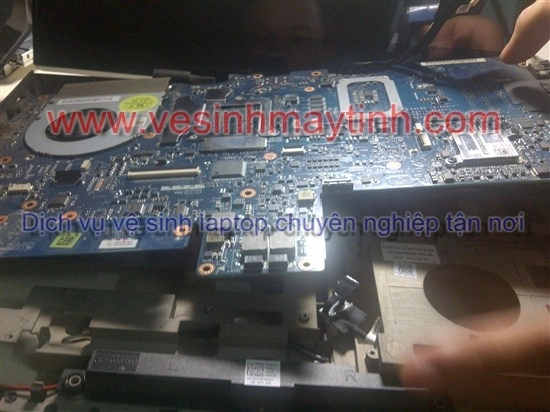
Nâng main lên nhẹ nhàng
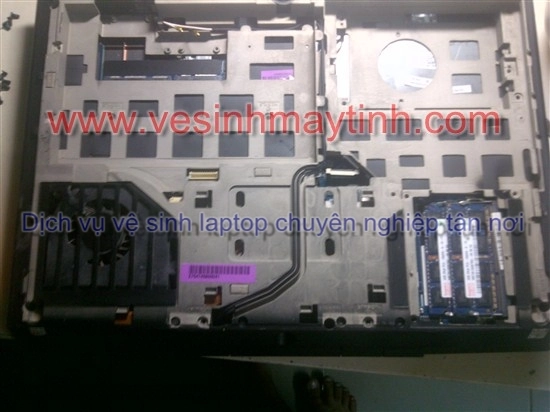
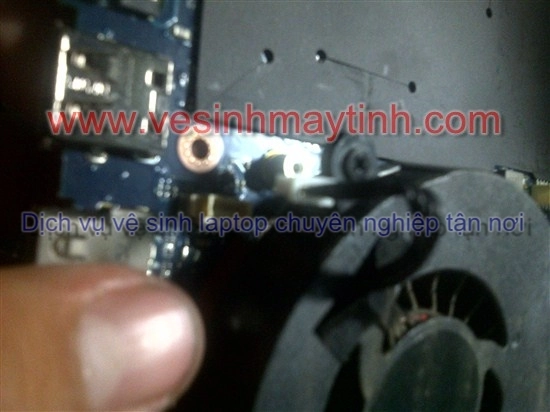
Mở bộ tản nhiệt ra, thật nhẹ nhàng
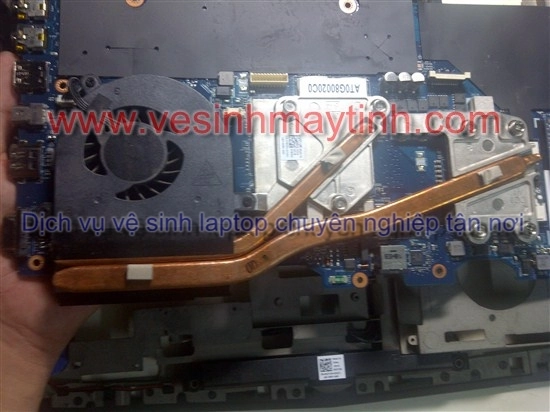
Mở quạt gió ra vệ sinh, bên trong rất bẩn
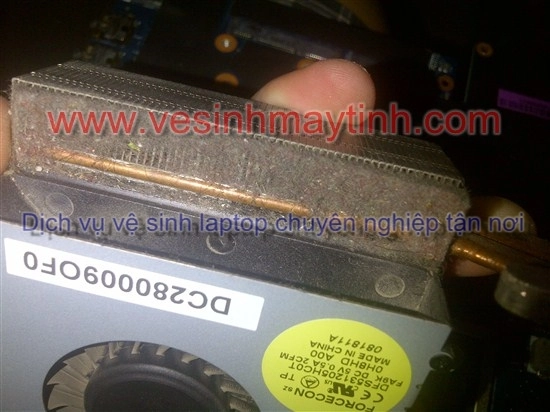
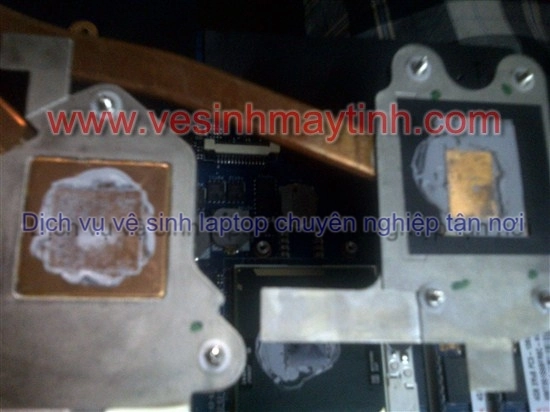
Keo cũng đã khô
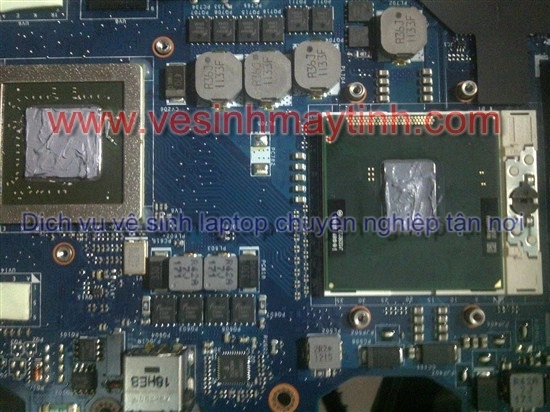
Làm sạch và trét 1 lớp keo mới, sau đó lắp lại máy theo các bước ngược lại
Chúc các bạn thành công !
Có thể bạn quan tâm: